- On sale!
- -13%
- Save 13%


By buying this product you can collect up to 5 loyalty points. Your cart will total 5 points that can be converted into a voucher of €0.50.
Discover the Demonstrated/remounted Cobra karting tires, an indispensable tool for karting enthusiasts wishing to change their tires quickly and easily. Designed to deliver optimal performance, this robust and easy-to-use tool is ideal for all types of karting tires.
Made with high quality materials, the tire disassembly/mounting Cobra is extremely durable and wear-resistant. Its ergonomic design allows a comfortable grip, ensuring effortless use even when changing tires frequently.
Optimal Performance: Allows to change tires quickly and efficiently.
Exceptional Sustainability: Made with resistant materials for long-term use.
Ease of use: Ergonomic design for a comfortable grip.
Universal compatibility: Suitable for all types of karting tires.
At Magickart, we offer the tire disassembly/mountage Cobra at a competitive price . We also reward the loyalty of our customers by offering loyalty points for each purchase, usable on their future orders.
To use the cobra karting tire clamp, here is a detailed example of the procedure to be followed:
Cobra karting tire clamp
Karting wheel with tire to be dismantled/assembled
Lubricating oil (optional)
Preparation: Make sure the wheel is fixed and stable. Place the wheel on a flat and secure surface.
Pliers positioning: Place the Cobra tire clip to grab the edge of the tire. The clamp must be well centered to avoid damage to the tire.
Force application: Press the grips of the clamp to firmly grip the edge of the tire. Use handles to lift the edge of the tire and pass it over the rim edge.
Rotation: Rotate the pliers around the rim while maintaining constant pressure to gradually remove the tire from the rim. Continue until the tire is completely disassembled.
Lubrication (optional): Apply a light layer of lubricating oil around the rim to facilitate tire winding.
Pliers positioning: Place the tire edge on the rim and use the pliers to grab the opposite edge of the tire.
Force application: Press the clamp handles to insert the tire edge on the rim. Use the handles to pull the tire on the rim following the rim.
Rotation: Rotate the pliers around the rim while maintaining constant pressure to gradually install the tire on the rim. Continue until the tire is fully assembled.
Make sure the clamp is always well centered to avoid damage to the tire or rim.
Check tire pressure after winding to make sure they are properly inflated.

TOP X30 / KA100 carbon valves are specially designed for Iame X30 and KA100 karting engines. Made from high-quality carbon, these valves offer exceptional durability and optimum performance. With a precise clearance of 0.24/0.25 mm, they ensure smooth, reliable operation of your engine. Regular wear checks are essential to avoid starting problems.
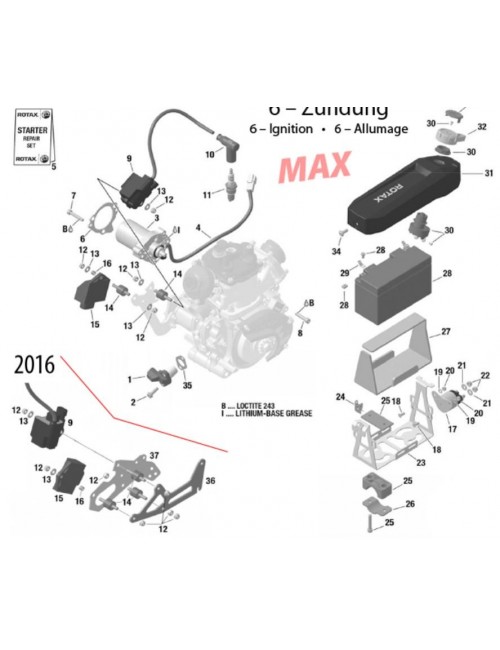
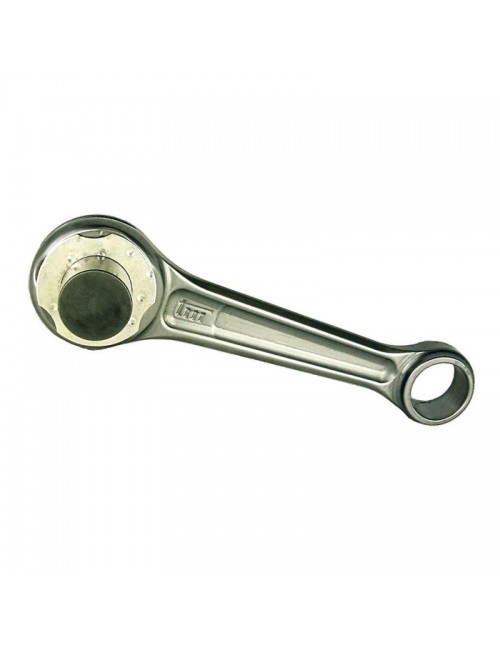
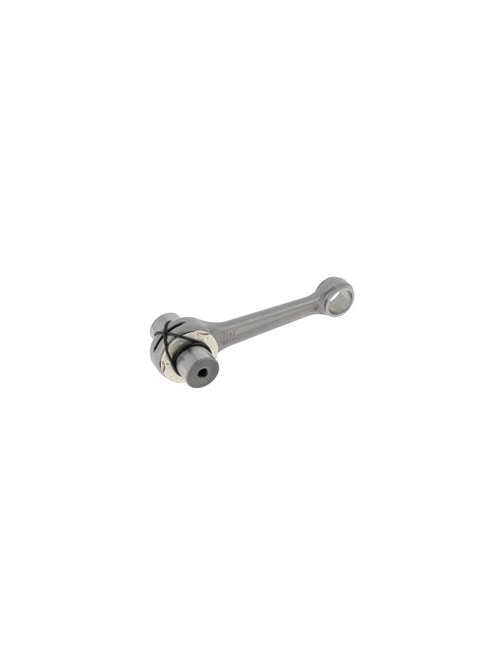
The Racing connecting rod Ø22mm pierced manter 6 is a complete set designed for karting engines KZR1, KZ10B, KZ10C, KZ10, and K9C with electronic starter (ES versions). This kit includes all the necessary parts to ensure optimal performance and increased durability of your engine.
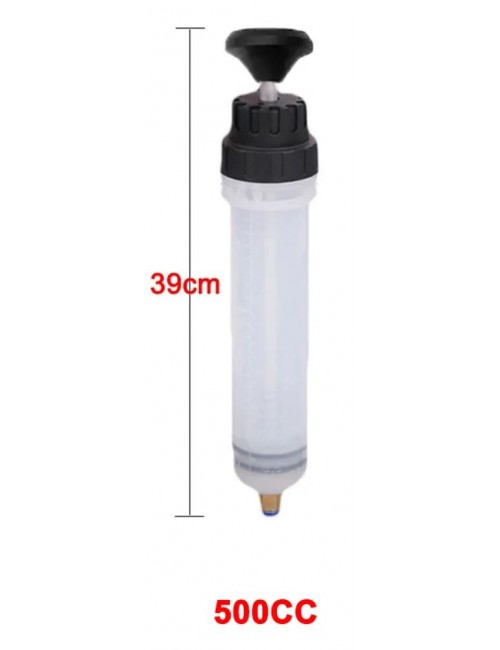
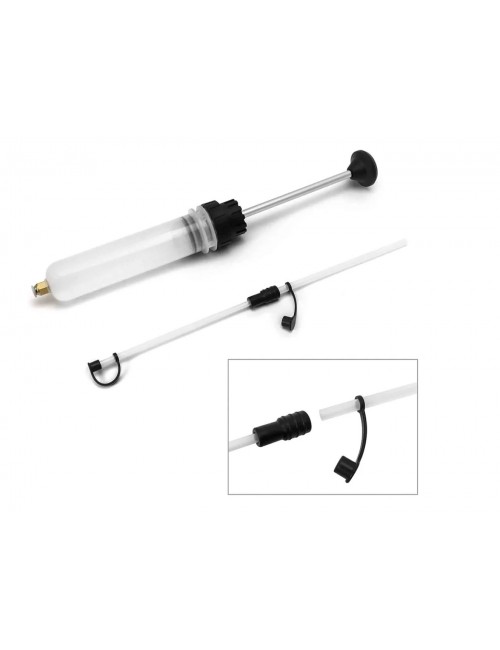
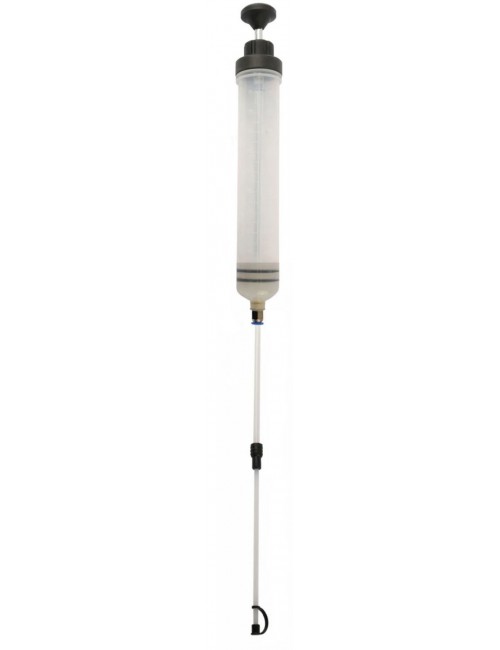
Ideal for emptying the tank from your karting, this giant syringe is designed to extract various types of liquids such as fuel, brake fluid and box oil, with a capacity of up to 500 ml. It is also provided with two replacement seals.
Discover the carton of 12 cans Motul Grand Prix Kart at MagicKart. Designed to provide optimal performance and maximum protection for karting engines, ideal for demanding drivers.
The TM Racing Tie Kit Ø22mm Pull Maneton is a complete set designed for Karting TM Racing engines, including KZR1, KZ10B, KZ10C, KZ10 and K9C models (ES versions with electronic starter). This kit is specially developed to offer a optimal performance and an Increased durability At your engine, thanks to high quality materials and a design adapted to the requirements of the competition karting.