

The label of 17.6 mm long is a precision piece located on the crankshaft, just behind the clutch bell. Identified under the Number 11 on the technique burst, it is crucial for the proper positioning of your transmission.
Dimensions to Micron: 15 mm interior, 17 mm outside and 17.6 mm in length. A gap of a few tenths would be enough to block the clutch or create an excessive game.
Surface treatment: Designed to withstand friction and heat released by the clutch in the skating phase.
Longevity: Do not deform under the tightening pressure of the crankshaft nut.
Rotax 125 max, junior, mini, microphone (all versions evo and non-EVO).
"We often forget it at the bottom of the cardboard during a disassembly, but this little spacer is vital!
My Pro Council: Each replacement of your bell or pinion, check the support faces of the spacer. If they are marked or blue by heat, change it immediately. A bad condition can cause a case of the needle cage or pinion.
The little more: Enjoy it for very lightly grease the outer part with high temperature grease to facilitate future disasters. "
Here are the steps for a clean intervention on your engine Rotax :
Disassembly: Remove the chain protector, then unscrew the crankshaft nut (17mm socket) by blocking the starter or with a shock wrench.
Removing the bell: Remove the wedging washer and clutch bell. You will see the spacer (n ° 11) on the crankshaft.
Cleaning: Before setting the new spacer, clean the crankshaft with brake cleaner to remove old grease residues.
Installation: Slide the new spacer 15x17x17.6 mm. She must return freely without forcing.
Reassembly: Replace the needle cage (greased), the bell, washer and nut.
Verification: Once tight, check that the bell rotates freely by hand. If there is a hard point, disassemble to check the alignment.
We got back on a good basis with this format! What product is tackling now?

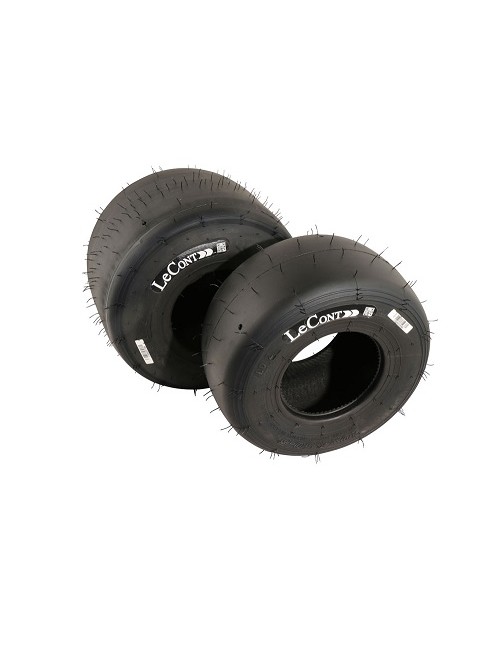
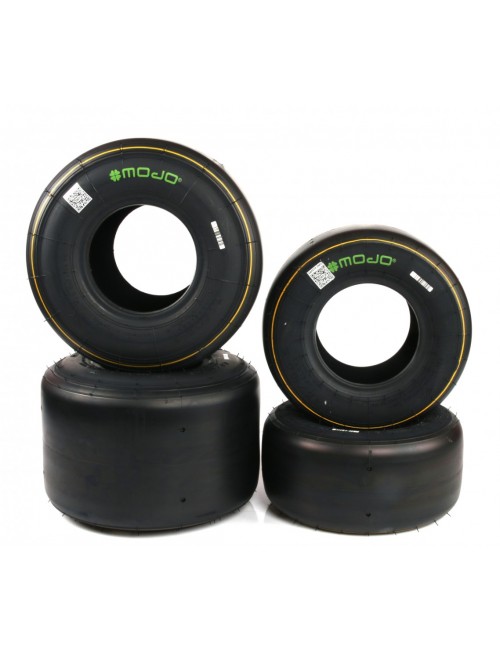
Karting tire Mojo D5 CIK is a CIK approved tire, specially designed for Max Senior, Max Masters, DD2 and DD2 Masters categories. It is used for brand cup Rotax France as well as for the Rotax Max Challenge International Trophy (RMCIT), Euro Trophy and Winter Cup Rotax89. This tire is recognized for its performance and durability, making it a privileged choice for high-level karting competitions.
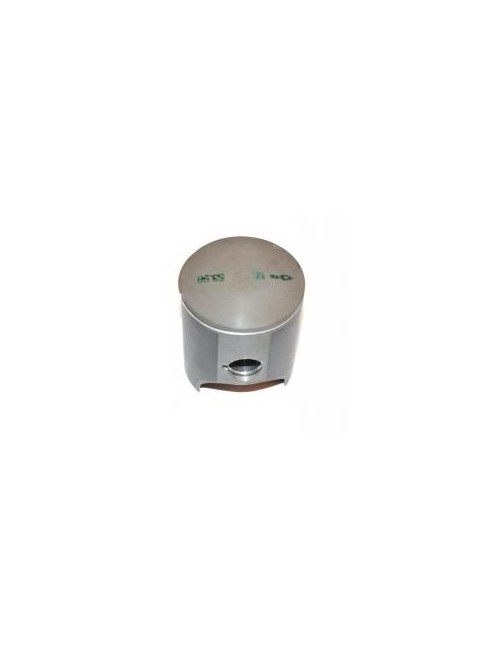
The piston with original band Rotax is an essential component for engines Rotaxdesigned to provide optimal performance and exceptional durability. This piston is suitable for multiple engine models Rotax, including the Rotax Micro max, Rotax Mini max, Rotax Junior, and Rotax Max (senior). Fabricated Rotax, a brand recognized for its quality and innovation in the karting world, this piston is ideal for demanding drivers looking for reliable and efficient solutions for their karting engines. In addition, Magickart offers this piston at a more competitive price than that of French and Italian competition, allowing you to benefit from the best quality at the best price.
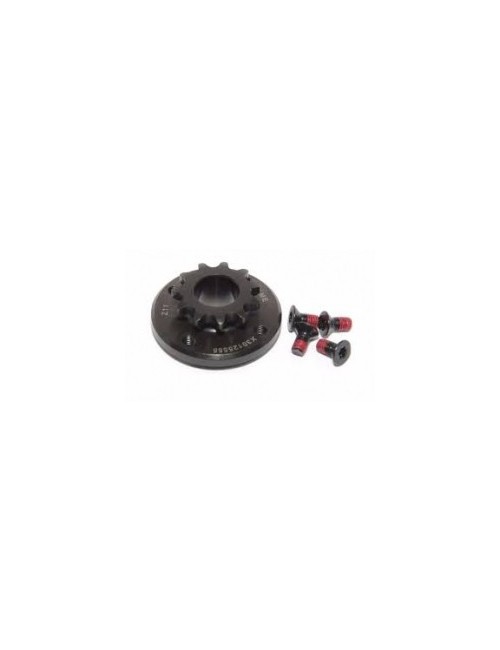
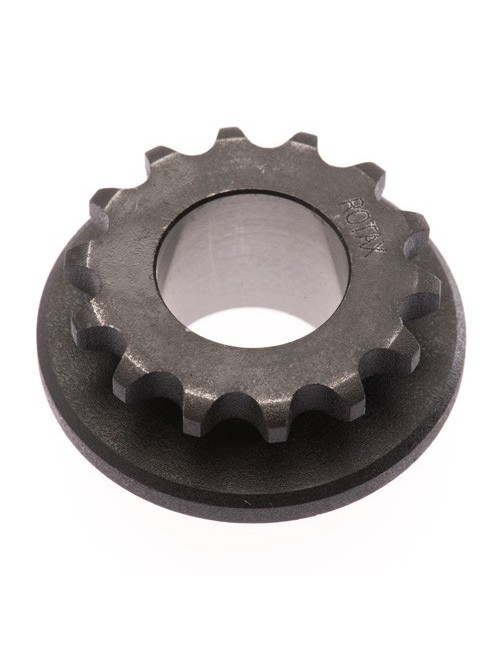
The Iame X30 pinion Origin is designed to equip X30 engines by ensuring reliable and efficient transmission. Using accurately, it provides optimal haling with the chain and perfect compatibility with the original configurations.
His assembly is done with 4 screwsensuring secure attachment on the motor axis.
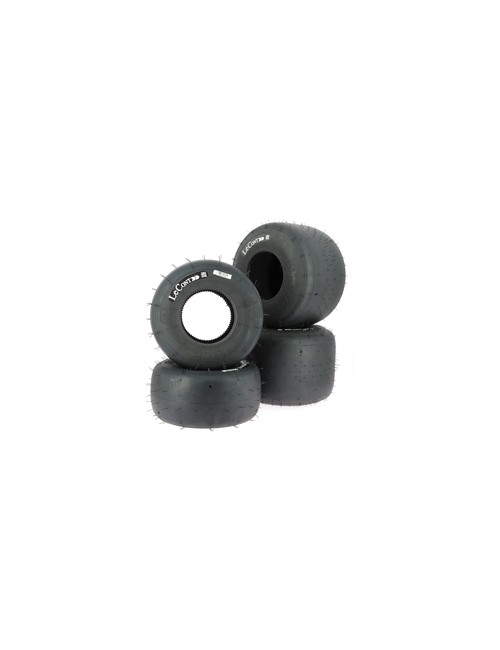
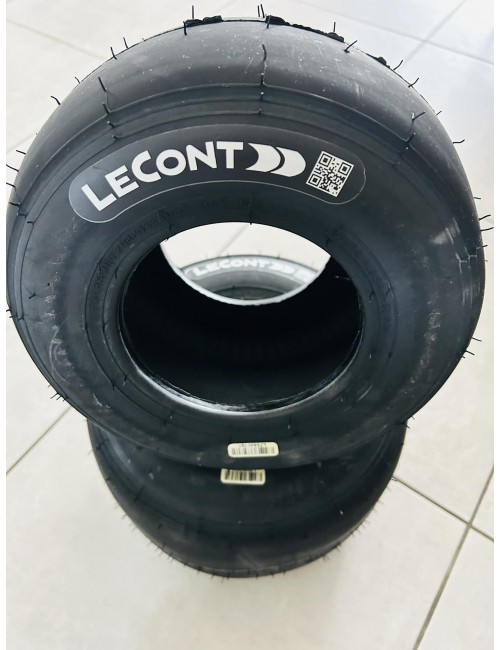
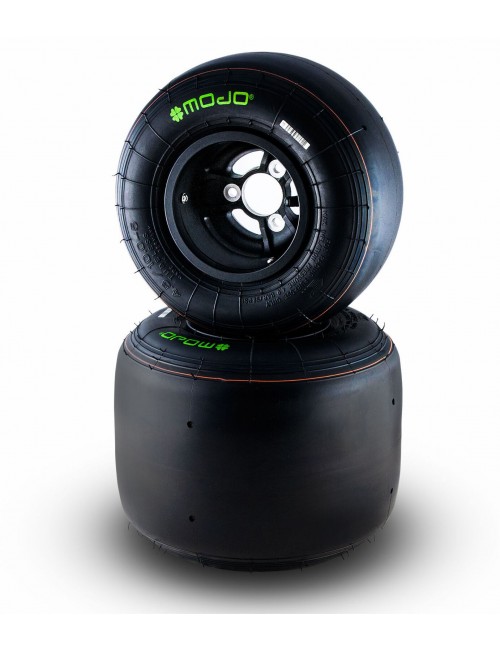
The LECONT LOH tyre is a must choice for demanding karting drivers. Approved from 2024 to 2026 in the KZ category, this tire is manufactured in Italy by Lecont, a company recognized for its quality and expertise in the production of competitive tires.
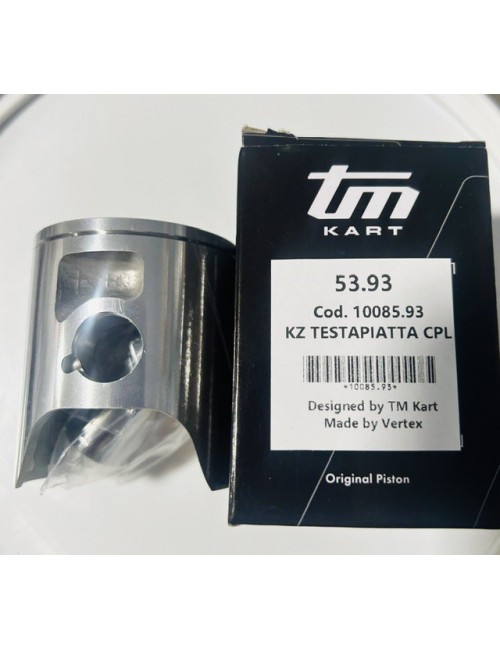
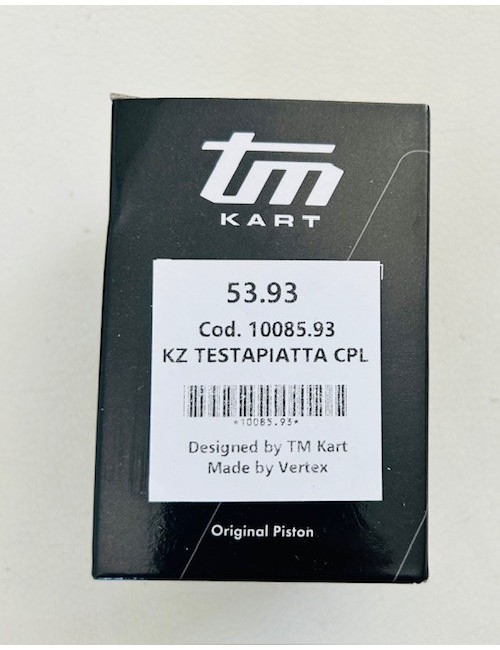
piston TM Racing 10085 Represents the elite of engine technology for KZ categories. Designed specifically for the last generations of engines (KZ10C until R2), this model to Flat sky (zero degrees) is the absolute weapon to optimize combustion. Equipped with a Eightened segment of 0.8 mmIt drastically reduces internal friction, releasing more power at high speed.
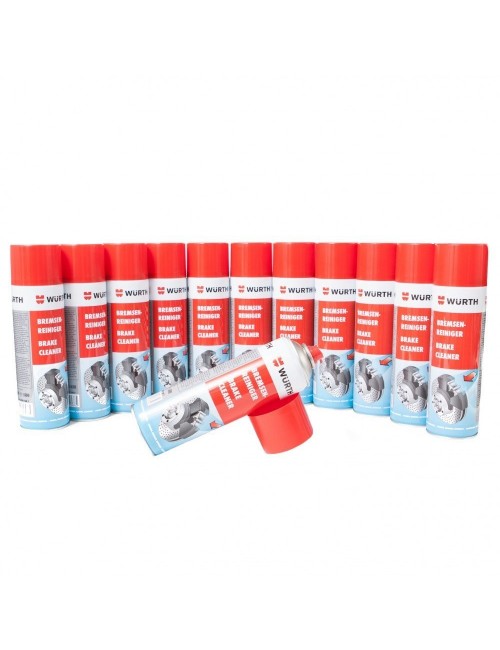
Discover Würth Brake Cleaner 12x500 ml at Magickart. Made by Würth, this acetone-free cleaner is ideal for brake systems and guarantees safe, effective use.