 Valve cap")


No reward points for this product.
The adjustment screw is the key component to refine your control according to the path of the circuit:
Preload management: Its role is to compress more or less the standing spring.
By screwing: You compress the spring, the valve offers more resistance and opens later (more "coupleux" at the bottom).
By unscrewing: The spring is more free, the valve opens earlier (more "bright" engine in the towers).
Clicks lock: The screw is designed to provide notches (clicks) perceptible. This allows the driver or mechanic to memorize specific settings and return to a known basis from one session to another.
Ergonomics: Its knurled shape allows a quick hand adjustment, even with gloves, without the need for tools, ideal for adjusting its engine behavior directly in the stands or the pre-grid.
"Listen well, that's where the tenths earn! The standard setting is often between 12 and 14 clicks Starting from the closed position (screwed thoroughly). But beware: if you unknown too much, the screw can end up jumping with the vibrations. My secret? Always make a small white felt mark on the top of the screw to see at a glance if it turned alone during your sleeve! "
Basic setting: Screw the knob with a clockwise direction (without forceing like a beef to the end so as not to mark the plastic).
Adjustment: Unscrew the desired number of clicks.
Sinuous / slow track: Screw more (Farm Valve) to prevent it from opening too early in tight turns.
Fast track / long straight line: Unscrew (flexible valve) for the engine to "take turns" as soon as possible.
Verification of the seal: Make sure the small O-ring located under the screw is in good condition. If he is dead, the screw can loosen alone or let out the pneumatic pressure.

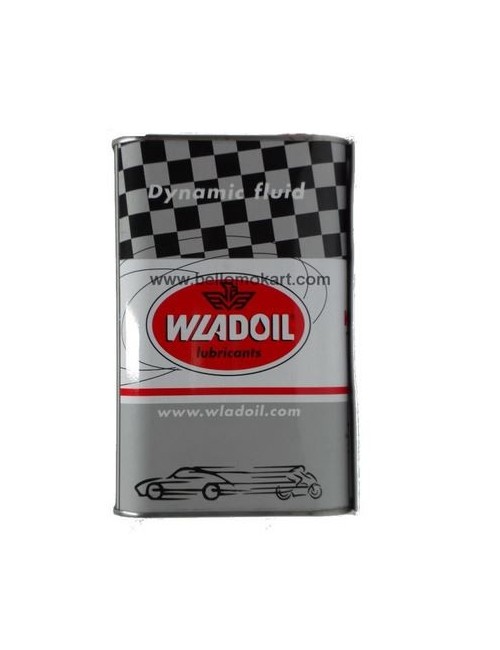
Wladoil Racing 2T Oil - The oil reference for 2-stroke engines
Wladoil Racing 2T oil is specially formulated for 2-stroke engines, guaranteeing top-level performance and maximum protection. Designed for demanding racing conditions, this oil is one of the best choices for riders seeking reliability, durability and efficiency in competition. Distributed by IAME, this oil is ideal for X30 and KA100 engines. Like the CIK-FIA-approved LEXOIL 996, WLADOIL is authorized for use in the IAME Brand Cup for the X30 Junior and KA100 categories.
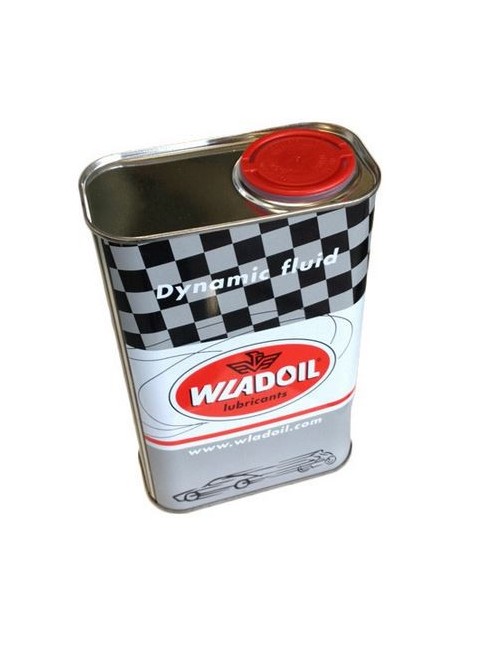
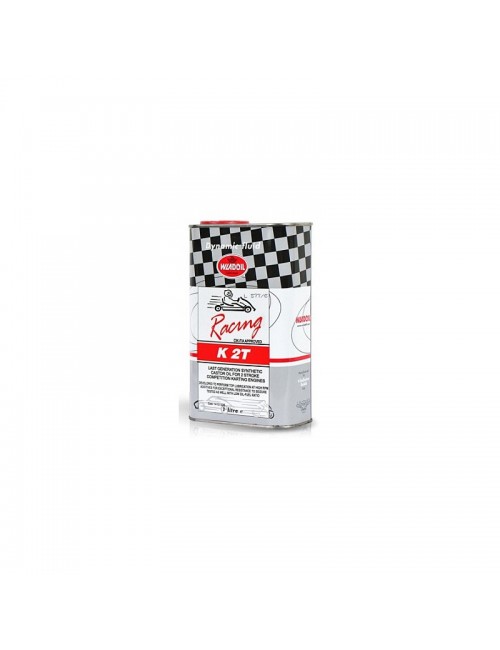
The X30 Europa challenge oil is particularly well suited to IAME engines, but can also be used with all high-performance kart engines (KZ, Rotax...). Sold in one-liter cans, this X30-approved oil is designed for very high-performance engines and contains 25% castor oil.
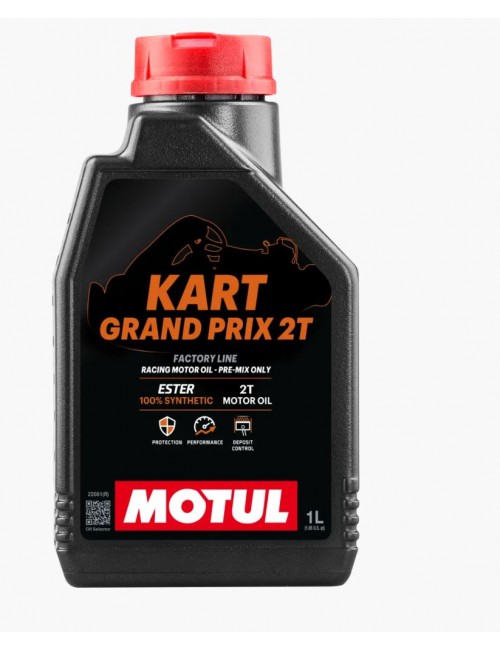
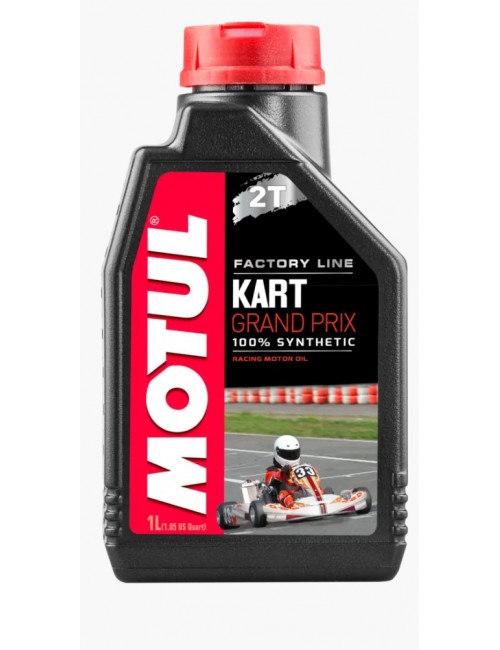
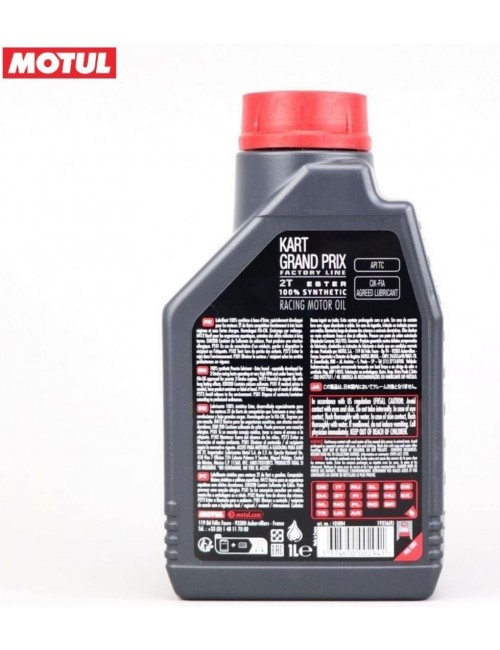
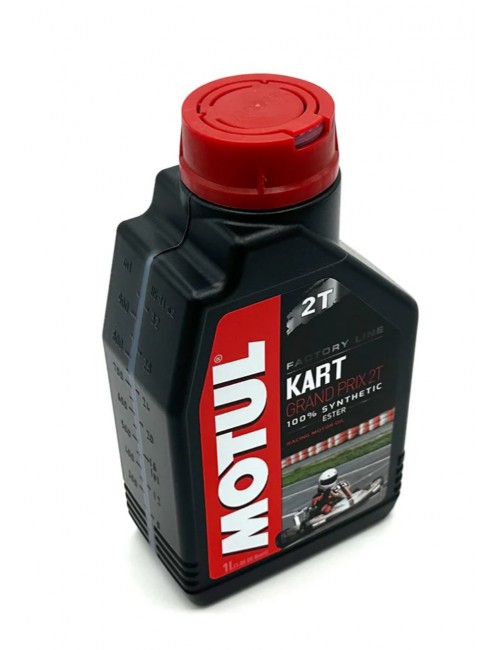
TheOil Motul 2T Grand Prix for Kart is a high-end synthetic lubricant specially formulated for two-stroke karting engines. This oil offers optimal protection and increased performance, ensuring long-lasting lubrication and reduced wear, even under the most demanding running conditions.
Discover the carton of 12 cans Motul Grand Prix Kart at MagicKart. Designed to provide optimal performance and maximum protection for karting engines, ideal for demanding drivers.
Pack of 6 Motul GP 2T cans for 2-stroke kart engines. High-performance synthetic oil, superior lubrication, clean combustion, improved performance. FIA-CIK approved. Magickart: competitive prices, serious customer service.
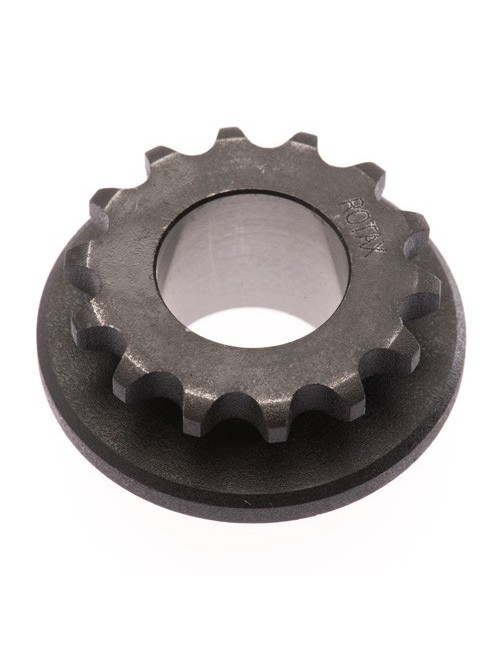
Discover the piston with original band Rotax At Magickart. Designed to provide optimal performance and increased durability, ideal for engines Rotax. Competitive price.
The piston with original band Rotax is an essential component for engines Rotaxdesigned to provide optimal performance and exceptional durability. This piston is suitable for multiple engine models Rotax, including the Rotax Micro max, Rotax Mini max, Rotax Junior, and Rotax Max (senior). Fabricated Rotax, a brand recognized for its quality and innovation in the karting world, this piston is ideal for demanding drivers looking for reliable and efficient solutions for their karting engines. In addition, Magickart offers this piston at a more competitive price than that of French and Italian competition, allowing you to benefit from the best quality at the best price
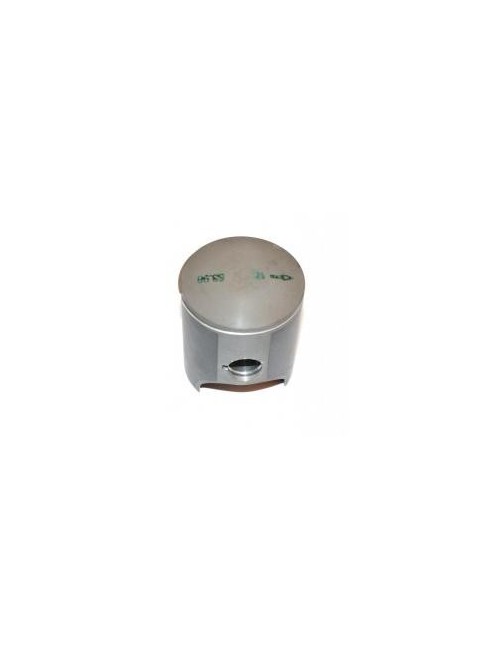
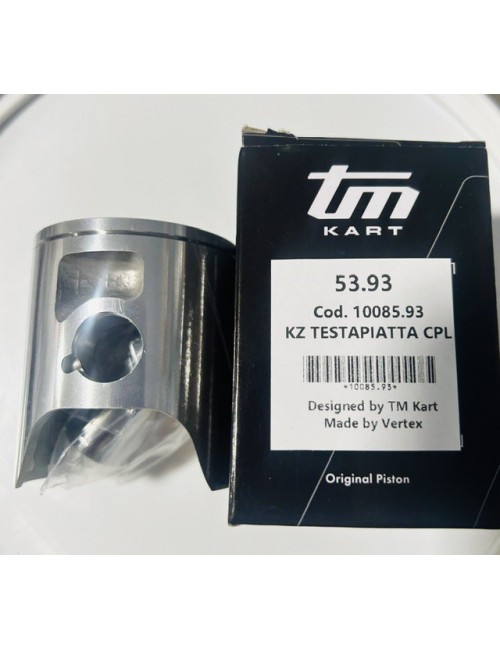
piston TM Racing 10085 Represents the elite of engine technology for KZ categories. Designed specifically for the last generations of engines (KZ10C until R2), this model to Flat sky (zero degrees) is the absolute weapon to optimize combustion. Equipped with a Eightened segment of 0.8 mmIt drastically reduces internal friction, releasing more power at high speed.
The Adjustment screw, located at the top of the valve hood, is the direct interface between the driver and the engine. By screwing it or by unscrewing it, the preload of the internal spring is modified, which defines which precise regime will open to release all the power of the Rotax.